Join The Forum To Get inspired Ideas


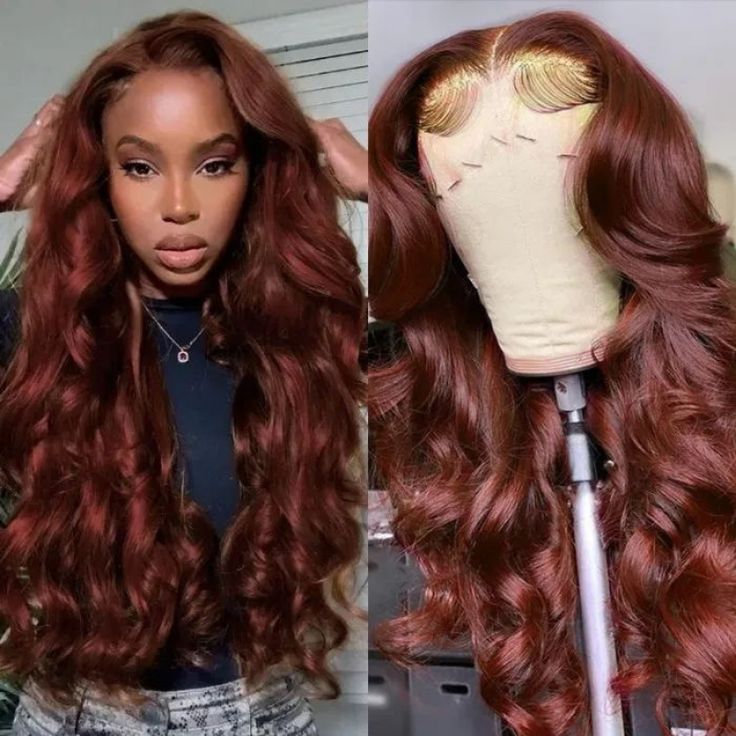
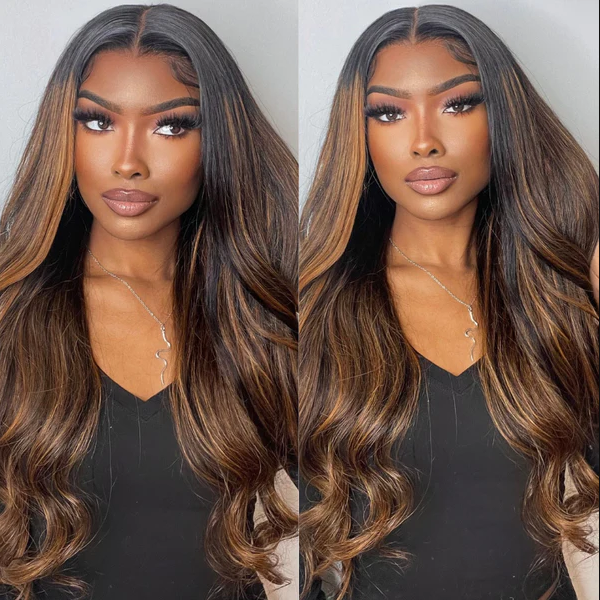
How to make a wig?
Making a wig can be a complex process, but I can provide you with a general overview of the steps involved.
Keep in mind that making a wig requires skill and practice, so it's recommended to consult detailed tutorials or seek professional assistance if you're a beginner. Here's a basic guide to making a wig.
1.Gather materials
Wig cap or wig foundation
Hair wefts or bundles (human or synthetic hair)
Wig stand or mannequin head
Needle and thread (matching the wig cap color)
T-pins or wig clips
Scissors
Wig combs or clips
Measuring tape

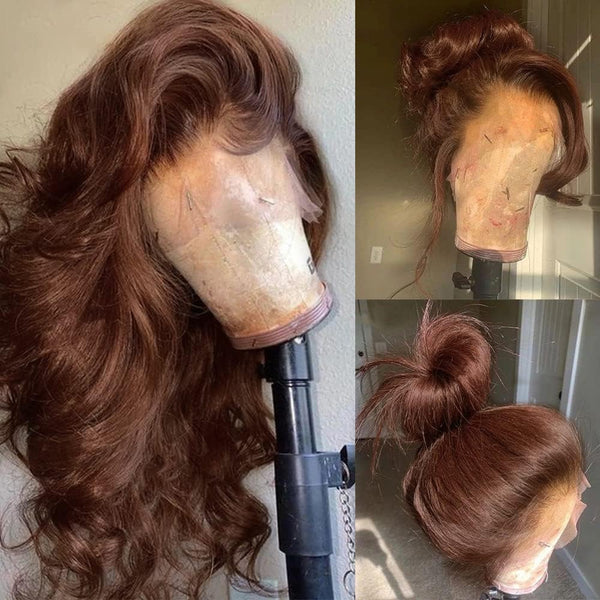
2.Prepare the wig cap
Place the wig cap on a wig stand or mannequin head.
Adjust it to the size of the wearer's head and secure it using T-pins or wig clips.
Use a measuring tape to determine the circumference and size of the head for accuracy.

3.Measure and cut the hair wefts
Measure the desired length of the wig and cut the hair wefts accordingly.
Make sure to leave extra length for sewing and customization.

4.Sew the hair wefts onto the wig cap
Start at the nape of the wig cap and sew the first hair weft using a needle and thread.
Use a basic stitch or a specific wig-making stitch for durability. Continue sewing the wefts in rows, working your way up towards the crown area.
Make sure each row is tightly sewn to prevent gaps or loose hair.

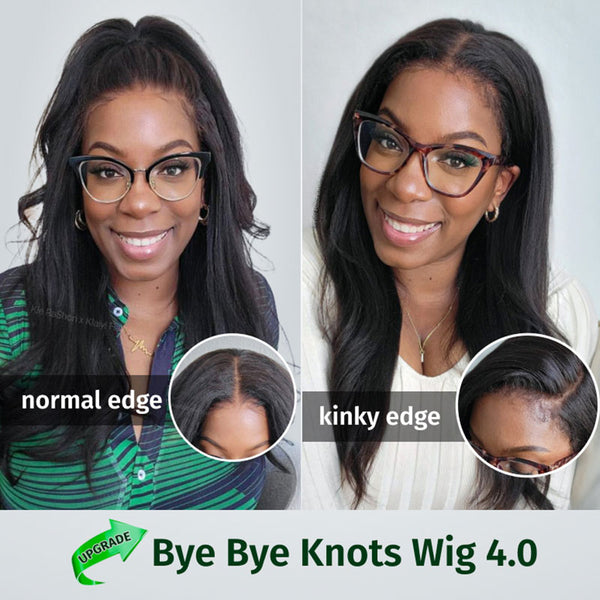
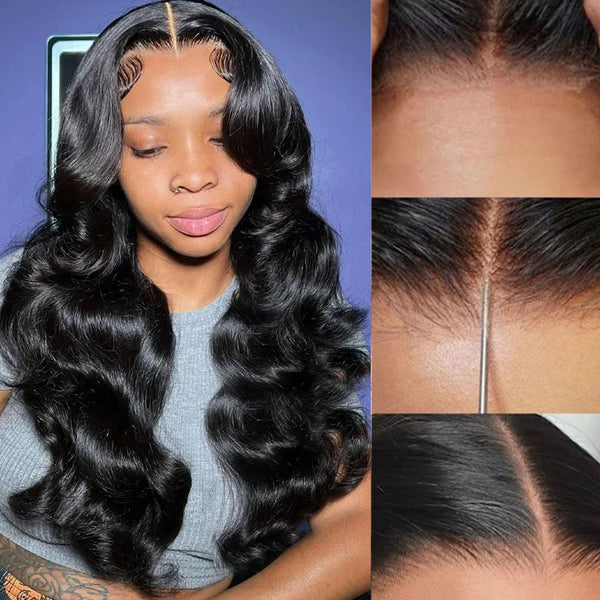
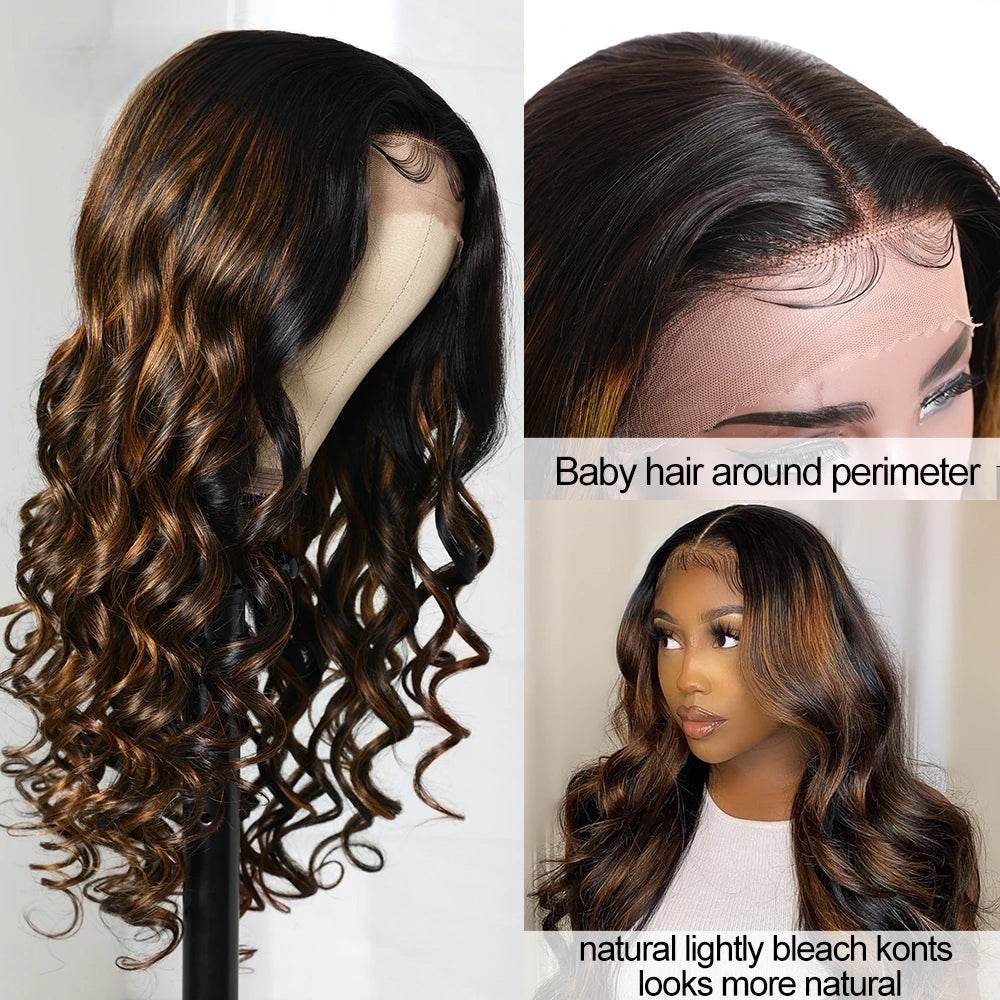
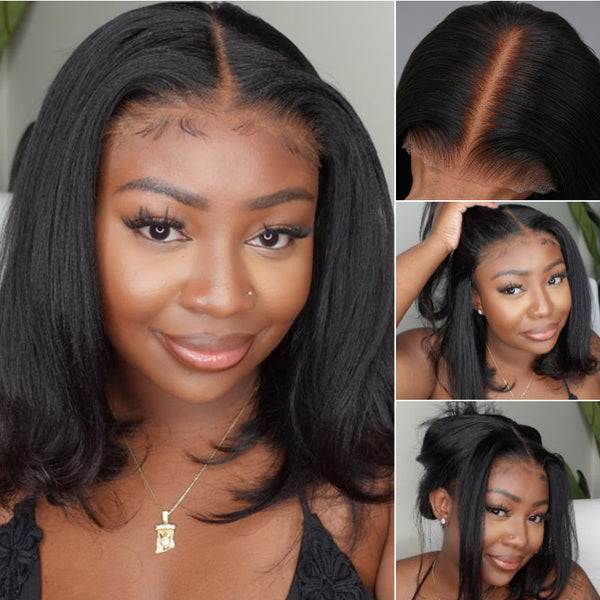
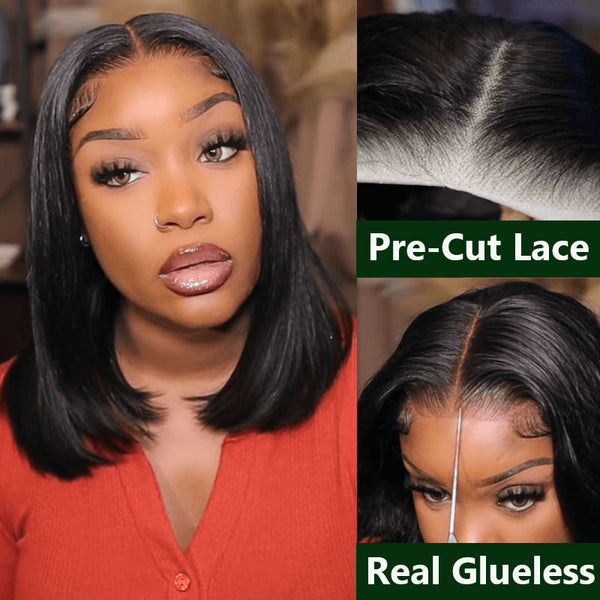
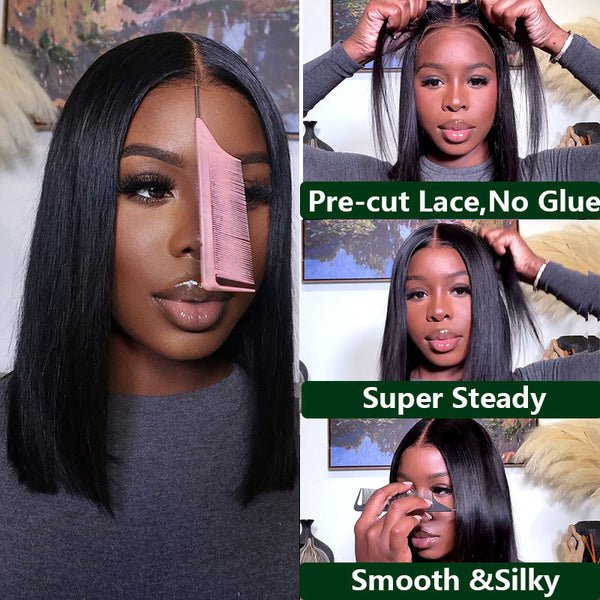
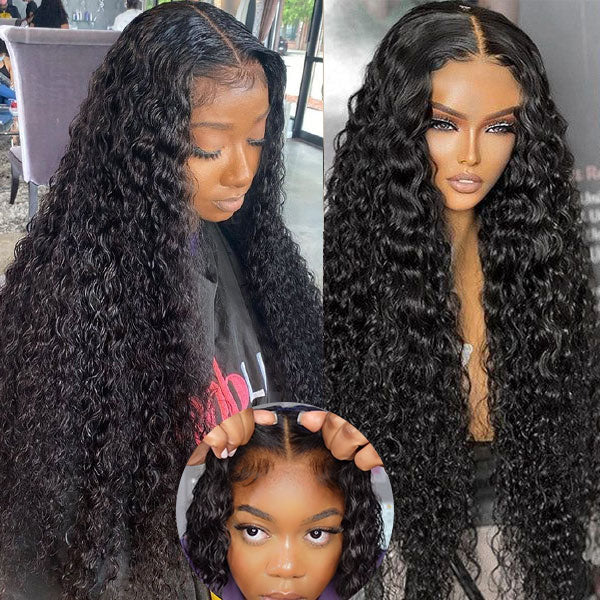
5.Customize the hairline
Leave a small section of the wig cap hair-free at the front to create the hairline.
Cut small sections of the wefts and sew them onto the front edge of the cap, following a natural hairline pattern.
Trim the excess lace or cap material to create a seamless blend.
@klaiyihair #klaiyihair #klaiyi #wig ♬ original sound - Klaiyi Hair
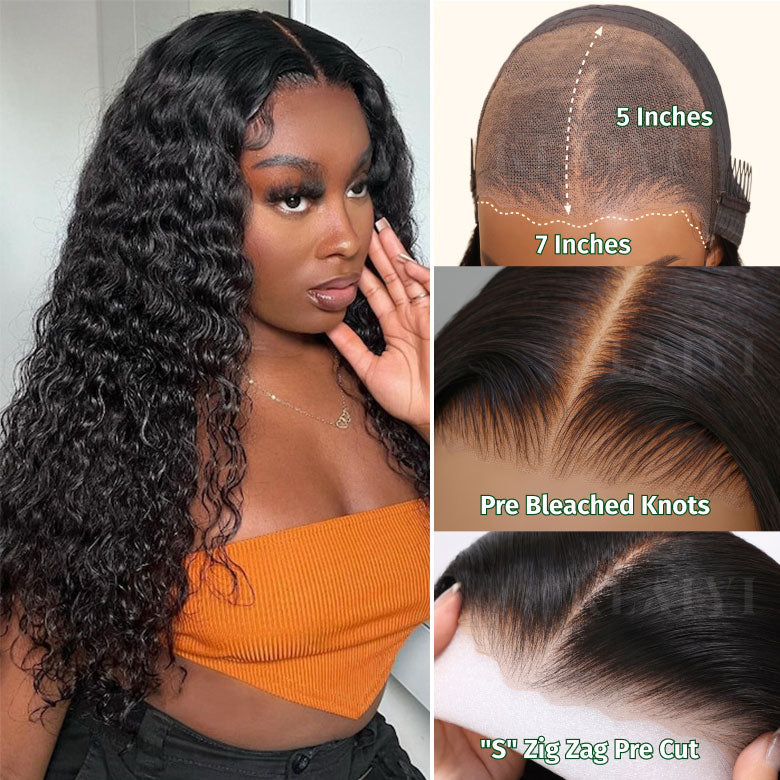
6.Create the parting
Determine the desired parting style (middle part, side part, etc.).
Use a comb to section the hair accordingly and create the parting.
Sew the wefts in the direction of the parting to maintain a natural appearance.
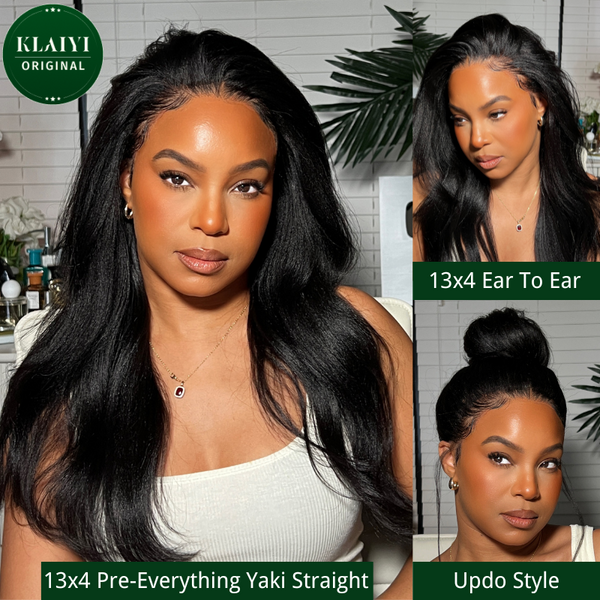
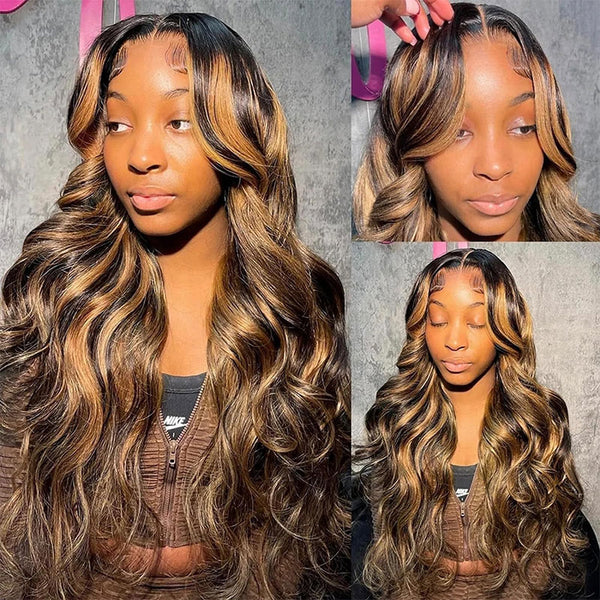
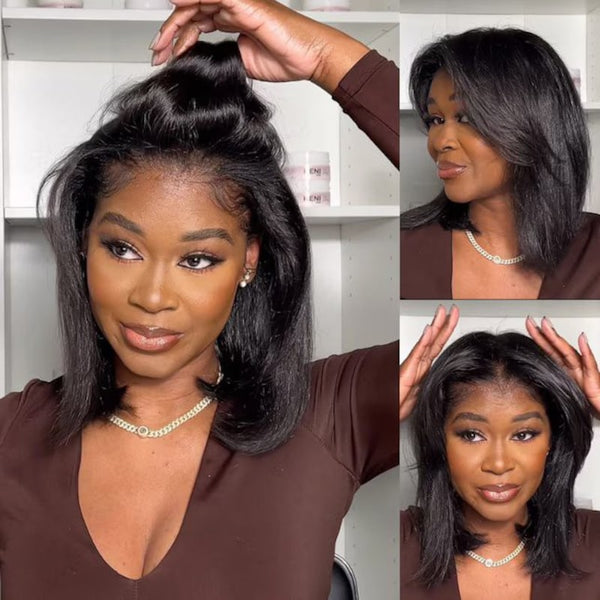
7.Customize and style the wig
Once all the hair wefts are sewn, try the wig on the wearer to assess the fit and make any necessary adjustments.
Trim the excess hair to achieve the desired length and style.
Style the wig using heat tools, curlers, or other styling methods as per the hair type (human or synthetic).

8.Secure the wig
Sew wig combs or clips inside the wig for better security and stability.
These can be attached at the front, sides, and back of the wig.

Remember, making a wig can be a complex process, and it may take time to perfect your technique.
It's always helpful to consult detailed tutorials, videos, or seek guidance from experienced wig makers to ensure the best results.
9.who's more suitable to make a wig by own
Making a wig by yourself can be a challenging task, especially if you're a beginner. However, with patience, practice, and attention to detail, it is possible to create your own wig.

Here are a few factors to consider when determining if making a wig by yourself is suitable for you:
1. Skill level: Making a wig requires basic sewing skills and an understanding of wig construction techniques. If you have experience with sewing or crafting, you may be better equipped to take on the task. However, even if you're a beginner, with proper research, practice, and dedication, you can learn to make a wig.
2. Time commitment: Making a wig is a time-consuming process that requires precision and attention to detail. If you have the time and patience to devote to the project, you may enjoy the process of making your own wig. However, if you have a busy schedule or limited time, it may be more practical to purchase a pre-made wig.

3. Budget: Making a wig can be cost-effective if you already have the necessary materials and tools. However, if you need to purchase all the supplies, it may be more expensive than buying a pre-made wig. Consider your budget and determine if it makes financial sense for you to make your own wig.
4. Desire for customization: Making your own wig allows for greater customization. You can choose the specific hair type, length, color, and style that you prefer. If you have specific preferences and want full control over the wig's appearance, making it yourself may be the best option.
If you're a beginner or unsure about your abilities, it's recommended to start with simple wig-making techniques and gradually progress to more complex styles. There are also wig-making classes, tutorials, and online resources available that can help you learn the necessary skills.

Alternatively, if you're unsure about making a wig by yourself, you can consider consulting with a professional wig maker who can guide you through the process or even make a wig for you based on your preferences and measurements.
Leave a comment